Welcome to NFBSL Science Laboratory Inventory
Documentation
This page is intended to help you get, install, and use sciencelabinv.
Should you have any furthur querries, the authur is very happy to help you ... just drop a line to yasir.elsharif@gmail.com preferably adding "sciencelabinv help" in the message subject
1 - How to Install sciencelabinv web application
Please follow these steps:
- Go to sciencelabinv.sourceforge.net
- Click on download to get the latest version
- Unzip (decompress) the files to the desired folder in your server, eg.
- linux: /var/www/sciencelabinv or /home/Your_User_Folder/publichtml/sciencelabinv
- windows c:\xampp\htdocs\sciencelabinv
- Create a mysql database eg. sciencelabinv, and (optionally) a user sciencelabinv with full privilages on sciencelabinv database.
- Dumb MySQL schema from file sciencelabinv.sql to your created mysql database
- Use you favorite text editor (eg. Gedit) to edit ewcfg7.php:
- Go to lines 31-35 and change them according to your database settings
- Go to line 111 to change the default language id, the default is set "en"
- Go to lines 231-236 to change the e-mail settings
- Your are done! Enjoy using sciencelabinv and when you have time send us your feed back
2 - How to use sciencelabinv web application
2.1. User Management
2.1.1. Registration: 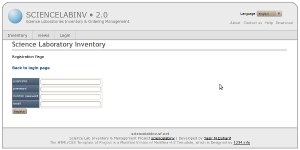
Go to http://sciencelabinv.yoursite.yourdomain
If you are a new user, you need to register an account for yourself, but you can not use the account unless the administrator (usually the science technician) makes it active for you.
Click on log in in the main menu to go to log in page, where you either log in the system or create a new user if you are a new user to the system. Later the system adminstrator (technician) can go to useracounts page to make your account "active"
2.1.2. Login: 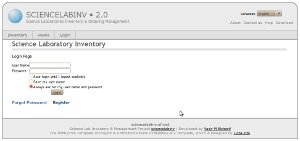
From the menu click on login and you will see the the login page (figure 1) where you enter your user-name and password to get authenticated and authorised to use the system.
2.1.3 Change Password
You can always change your password by clicking on change password from "log in" page
2.2. Orders Management:
2.2.1 Managing Orders: Lising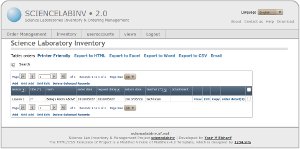
Once you have logged in you should find yourself looking at the Orders page as shown in the figure. If not, just click on the Orders link you will find in the Order management menu as shown in figure 3. All of the orders you have made should be visible and you can click on the column heading to choose how they are sorted. The technician "Administrator user" is able to see orders from all teachers.
You can also control the view of number of orders per page
On this page you are able to view, add, edit or delete your own orders as well as adding items to your orders (order details).
2.2.2 Adding an order: 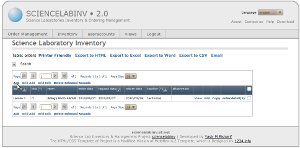
To add an order simply click on Add on top the orders list table (see above) that takes you to the "add order" page (bellow).
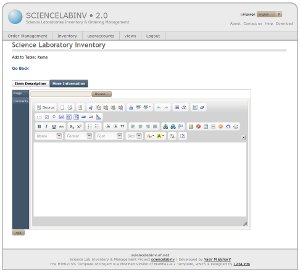
In the add orders page, you will notice in first figure below that you need to choose the lesson and room to which the order applies. There are drop down menus for each of these. The 'request date' is the date that you will be using the equipment and the 'return date' is the date the equipment should be removed from the laboratory.
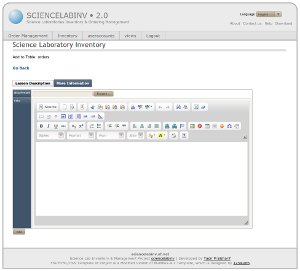 There is also a 'More information' tab that opens a text editor for any special instructions or notes. For example, you might order 250ml of HCl but want it split into 4 separate 100ml beakers. You are also able to add an attachment if, for example, you have an instruction sheet for a particular practical.
The page which opens when you click the 'More information' tab is shown in the second figure
2.2.3 Adding items to an order: 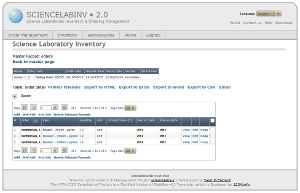
After submitting the lesson and date for your order you will be taken back to the main orders screen and now you click on Order detail (in the order list 2.2.2 above) to request equipment and/or chemical.
The order details screen in the figure shows the lesson, location and date of the order at the top. In the lower part of the screen equipment and chemicals can be requested by clicking on Add.
If you are not sure whether some equipment is available, use the search option.
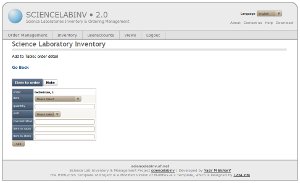 The figure (bellow) shows the screen with information on each individual item in an order. You select the item from a drop down menu which includes the current inventory. Then you choose the quantity and concentration if relevant. The bottom two boxes auto-fill with the location of the item in question. Again there is the option of adding a note if required.
If an item or chemical is missing from the inventory or its location is incorrect, please let the technician know and the database can be updated.
There is also "more information" page for adding items, but it works the same way as the more information for the orders
There are other features which can easily figured out since they appear as links. eg. exporting the page you are viewing to variety of formats (html/printer friendly/excel/csv/) or even e-mail the page to a friend.
2.3. Inventory Management:
The inventory system assumes that you have a science department, which is divided into rooms (office, laboratories, and store rooms), each of these rooms has stores (cuporads, fridge, shelfs ... etc) where the items (chemical and equipment) are stored, these items are classified by types
2.3.1 Managing Rooms
The rooms, stores, items and typs are managed quite the same way as orders above
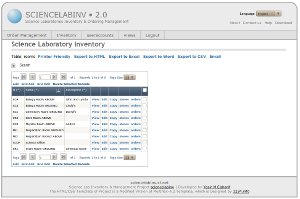
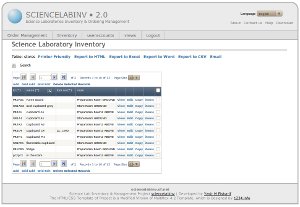
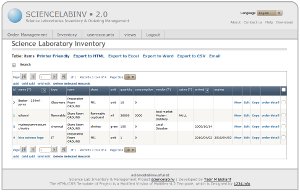
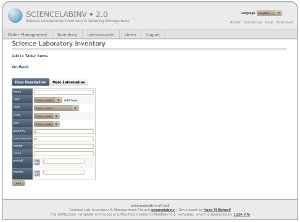
bellow are some screenshot to show each process
3 Backup
Your are strongly advised to make regular backups of sciencelabinv database, you probably don't need to backup your all files since they stay quite intact and you can just get them from a fresh installation file. the exceptions are the configuration file (ewcfg7.php) and the upload folder
Please refer to mysql documentation for more information about backup/restore of databases
